How do you dial in a brand new luxury espresso machine during its first week?
The first seven days set the habits you will keep for years. A structured approach turns an intimidating machine into a reliable morning ritual.
Day one: flush, season, and observe
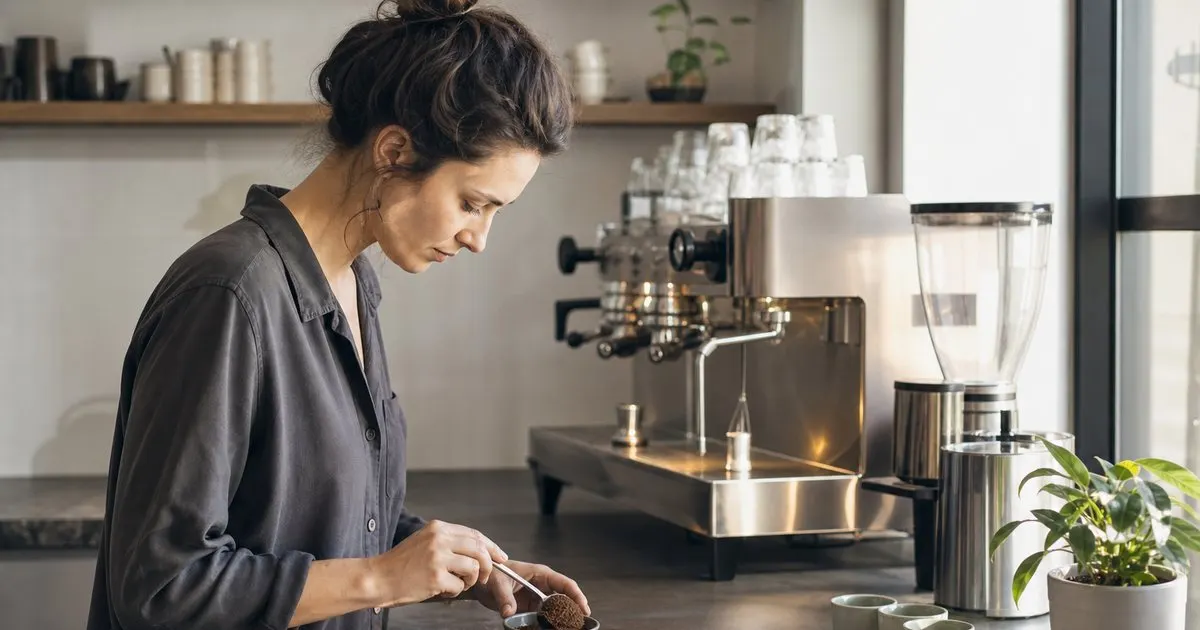
Before pulling anything you intend to drink, run several tanks or a few liters of water through the group and hot water tap to flush manufacturing residue and any preservatives from the boilers. Pull a few blank shots with the portafilter empty to warm the group, then pull three or four shots with coffee that you will discard. New machines and fresh gaskets sometimes carry faint chemical or metallic notes for the first day, and the group's brass takes a little use before it stabilizes. Related: Which build materials and boilers hold up best in a prosumer espresso machine?
Use this first session to observe rather than judge. Note how long the machine takes until the portafilter feels hot, whether the pressure gauge settles cleanly, and how the steam behaves when the wand first opens. Write these down. A short log kept in the first week becomes the baseline you will compare against for the life of the machine, and it will tell you months from now whether a change in behavior is real or imagined.
Keep reading: What actually separates a prosumer espresso machine from an everyday home model?, How important is a dual boiler when choosing a luxury espresso machine?, Should you pair your espresso machine with a separate high end grinder?. See how Cremaholm helps you a connoisseur guide to prosumer and luxury espresso machines.
Fix the recipe, then move one variable
Choose a single fresh coffee, ideally roasted within the past one to three weeks, and commit to one recipe for the week. A ratio of one part dry coffee to two parts liquid espresso by weight is the classic starting point, with a target of roughly twenty five to thirty five seconds from pump start to reaching that weight. Use a scale under the cup. Time and weight together tell you far more than either alone, and they make grind adjustments meaningful.
Change only the grind until the shot lands inside that window. If the shot runs fast and tastes sour or thin, grind finer; if it runs slow and tastes bitter or harsh, grind coarser. Resist adjusting dose, temperature, and pressure at the same time. A new machine invites experimentation, but changing three things at once teaches you nothing, and the grinder is almost always the variable that needs attention first. Related: Should you pair your espresso machine with a separate high end grinder?
Days three to five: temperature and preparation
Once the shot is landing in the window reliably, taste with attention. If the coffee is bright and the acidity feels sharp rather than lively, raise the brew temperature by a degree or two; if it tastes flat or ashy, lower it. Most machines with PID control let you make these changes in small increments, and the effect is subtle but real. Give each setting several shots before deciding. Temperature is easy to overthink; a couple of degrees is usually all that separates a coffee's best from its acceptable. Related: What does PID temperature control really do for espresso quality at home?
Use these days to refine puck preparation. Break up clumps with a needle tool, distribute evenly, tamp level, and watch a bottomless portafilter for spurts. Most of the inconsistency people attribute to a machine comes from uneven pucks. By the end of the week the goal is a shot that repeats within a second or two and a gram or two, morning after morning, without any adjustment.
Milk, cleaning habits, and the log
Add milk only once the espresso is dialed in, because a sweet cappuccino will hide faults in the shot that you will regret ignoring later. Practice steaming with water and a drop of dish soap if you want to save milk while learning the wand's behavior; it foams similarly and rinses easily. Then move to whole milk and small pitchers, and purge and wipe the wand after every use from the very first day so the habit forms alongside the skill. Related: How do you plan plumbing and water treatment for a luxury espresso setup?
Set up the cleaning rhythm now as well: backflush with water daily if your machine has a three way valve, use a cleaning detergent on a schedule appropriate to your volume, and replace or check the water filter as the manufacturer directs. A machine that starts its life with these routines stays in tune, and the first week's notes on grind settings, temperature, and shot times become the reference you return to whenever you open a new bag of coffee.
- Flush the machine thoroughly and discard the first few shots before judging anything.
- Lock in a one to two ratio by weight and adjust only the grind until timing lands.
- Refine temperature and puck preparation only after the shot repeats reliably.
- Start cleaning and logging habits on day one so they become part of the ritual.

Julien Jimenez
Julien Jimenez is an independent software builder based in Paris. He designs, ships, and operates focused SaaS products for small businesses and independent professionals. Read the full author page.
Cafe-Grade Espresso, At Home
A connoisseur guide to prosumer and luxury espresso machines. Cremaholm is built to help you put this into practice.
Find your machineMore from the Cremaholm blog
Get the complete espresso machines guide
Our full buying guide, the price guide, and new research as we publish it. One email, no spam, unsubscribe any time.